In a world where every moment can be captured in stunning detail, iPhone videos often end up taking a hefty chunk of storage. You know the drill: you’re trying to share that epic cat video or your latest culinary masterpiece, but your phone’s storage bar is mocking you. Fear not! Reducing the size of those videos doesn’t have to feel like rocket science.
Understanding Video Size on iPhone
Video size on iPhone is influenced by multiple factors. Knowing these factors enables users to manage storage better and enhance sharing capabilities.
Factors Affecting Video Size
Video resolution plays a significant role in size. Higher resolutions, like 4K, consume more space than lower resolutions, such as 1080p. Frame rate also affects size; higher frame rates create more data. Compression methods can differ, impacting overall file sizes significantly. Length contributes to size; longer videos generate larger files. Bitrate is crucial; higher bitrates result in better quality but increased file sizes.
Common Video Formats
Common formats include MOV and MP4. MOV files, typically larger, offer high quality and are frequently used in professional settings. MP4 files, in contrast, often balance size and quality effectively, making them popular for sharing. HEVC, or H.265, is another format, known for superior compression while maintaining quality. Users often choose formats based on their needs, prioritizing quality or file size depending on the intended use. Understanding format choices helps in deciding how to reduce video size.
Methods to Reduce Size of iPhone Video
Reducing iPhone video size is straightforward. Several methods effectively lessen file size while maintaining quality.
Trimming Unused Sections
Trimming unnecessary parts of a video significantly cuts down its size. Open the Photos app and select the video to edit. Tap the “Edit” button, then adjust the sliders to remove unneeded sections. Tap “Done” to save the changes. This approach enhances storage efficiency without compromising essential footage.
Adjusting Video Quality Settings
Changing video quality settings can result in smaller file sizes. Access the Camera settings in the iPhone Settings app. Under the “Record Video” option, choose a lower resolution or frame rate. Options like 720p at 30 fps reduce space consumption while still providing acceptable quality for most needs. Updating these settings offers users more control over storage.
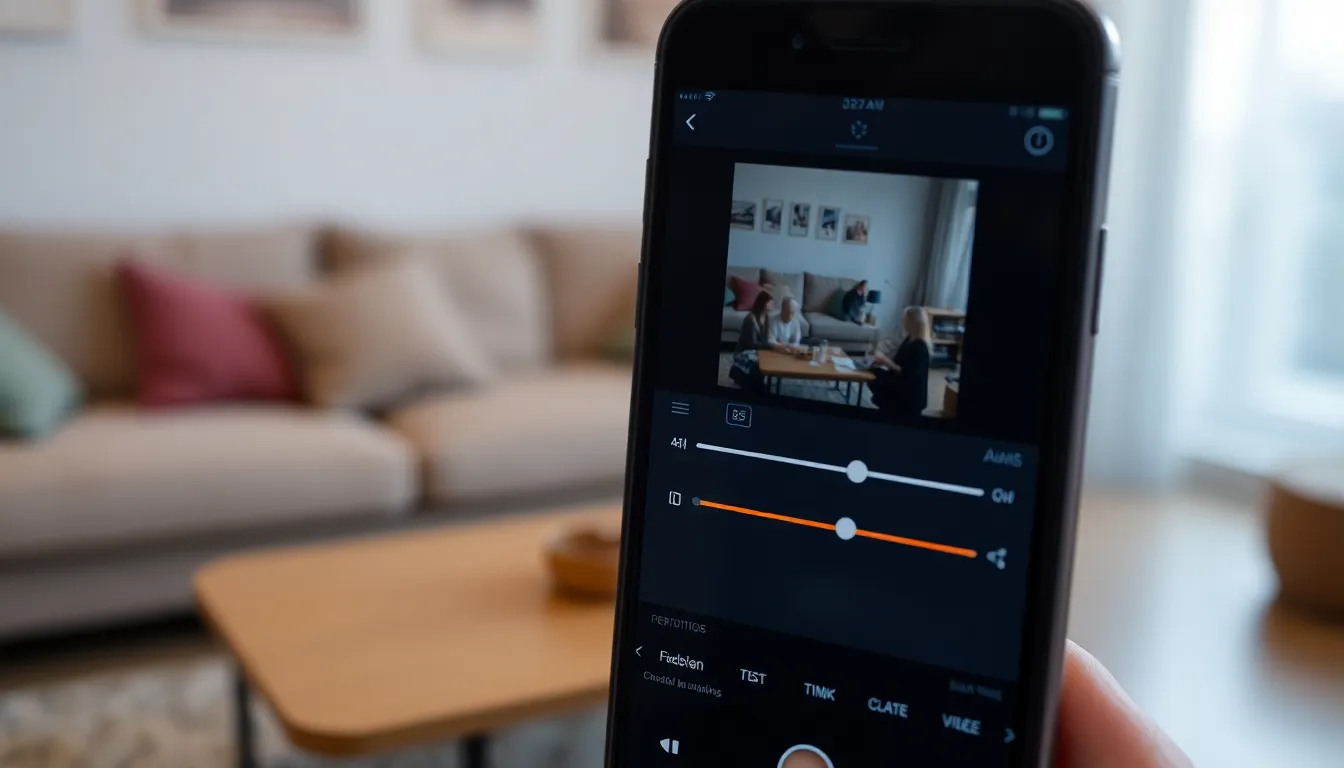
Using Third-Party Apps
Third-party apps provide effective solutions for reducing the size of iPhone videos. Many options exist, each offering unique features to streamline the process.
Popular Video Compression Apps
Wondershare UniConverter ranks high among user favorites for video compression, thanks to its straightforward interface and diverse formats. HandBrake is another popular choice, known for its powerful editing features and free availability. Video Compressor by Tweak can be useful for quick compressions, allowing users to adjust file size easily. Users can also explore Compress Videos, a straightforward app specifically designed for reducing video files without sacrificing quality.
Steps to Compress Videos Efficiently
Start by downloading a preferred video compression app from the App Store. After installation, open the app and select the video intended for compression. Adjust the settings, such as resolution or bitrate, ensuring users strike a balance between quality and file size. Tap the compress button to begin the process. Review the compressed video and check if it meets expectations before saving it to the device. Following these steps streamlines compression while maintaining content quality.
Utilizing Built-in Tools
Reducing video size on an iPhone can begin with built-in tools that simplify the process.
Using iMovie for Compression
iMovie offers a user-friendly interface for video compression. Users can import their video into iMovie and select the project option. After editing, they can navigate to the share button and choose “Save Video.” Options include different resolutions, such as 360p, 540p, and 720p. Selecting a lower resolution directly decreases file size. It’s effective for both casual users and those keen on video editing.
Apple Photos for Reducing Size
The Apple Photos app is another straightforward solution for size reduction. By accessing the Photos app, users can select the desired video and tap on “Edit.” Trimming unnecessary sections can immediately lower file size. Once adjustments are made, saving the video results in a smaller, more manageable file. This built-in tool keeps the process simple, allowing users to quickly optimize storage without needing additional apps.
Reducing the size of iPhone videos is a straightforward process that can significantly enhance storage management and sharing capabilities. By understanding the factors that influence video size and utilizing built-in tools or third-party apps, users can effectively compress their videos without sacrificing quality. Whether it’s trimming unnecessary footage or adjusting resolution settings, these methods provide practical solutions for anyone facing storage challenges. With the right techniques, users can enjoy a more organized device and seamless sharing experiences.